Building a Portable Ham Radio Antenna for Field Day
Field Day is a fantastic opportunity to test your skills, demonstrate amateur radio’s preparedness, and most importantly, have fun! A crucial part of a successful Field Day setup is a reliable antenna. Hauling bulky, complicated antennas around can be a real headache. This article provides step-by-step instructions for building a compact, portable antenna ideal for Field Day and other portable operations, allowing you to focus on communication and the event itself.
Why a Portable Antenna?
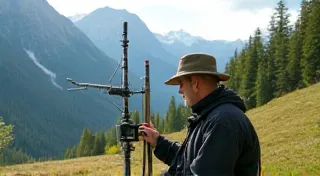
Traditional antennas, while often offering superior performance, are often difficult to transport and deploy quickly. A portable antenna should be lightweight, easy to assemble, and require minimal space. For Field Day, quick setup and teardown are critical, especially when operating in a park or public area with limited time.
The Compact Dipole: Our Portable Solution
We'll focus on a shortened, compact dipole antenna. It offers a good balance of performance and portability. Shortening a dipole means it will have a lower feedpoint impedance (around 16 Ohms for a typical shortened dipole), which may require an antenna tuner to match to your transceiver. However, the convenience and portability make it a worthwhile trade-off.
Materials You'll Need
- Approximately 30 feet of lightweight wire (14-18 AWG is suitable)
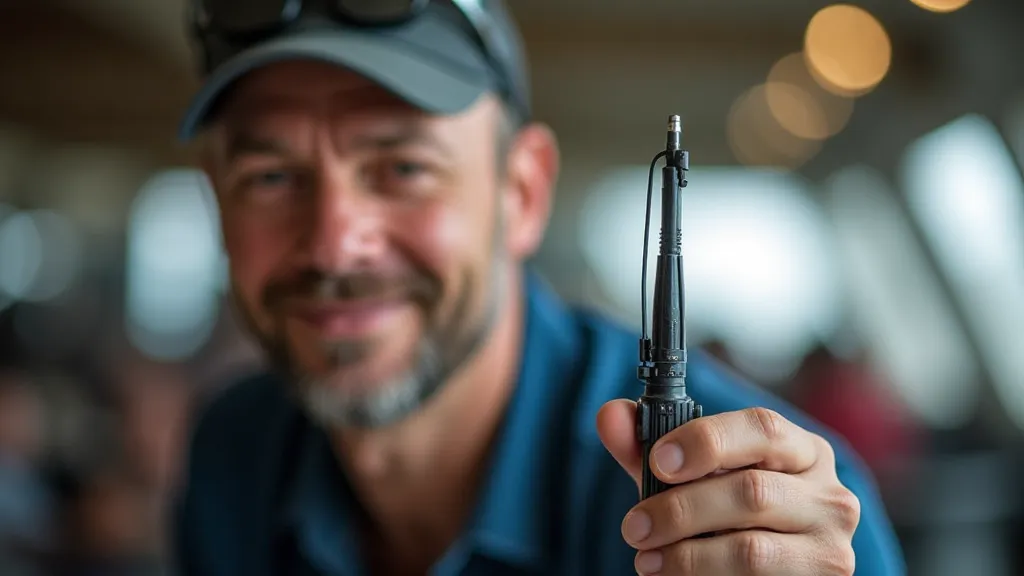
- Two SO-239 connectors (for the feedline connection)
- Heat shrink tubing
- Electrical tape
- Two sturdy eye bolts
- Approximately 20 feet of coaxial cable (RG-8X or RG-58)
- Antenna tuner (recommended)
Step-by-Step Instructions
Step 1: Preparing the Dipole Legs
Cut two lengths of wire, each approximately 15 feet long. Slight variations in length are acceptable. Attach an eye bolt to one end of each wire leg. Securely fasten the eye bolt using a good crimp and then wrap with electrical tape.
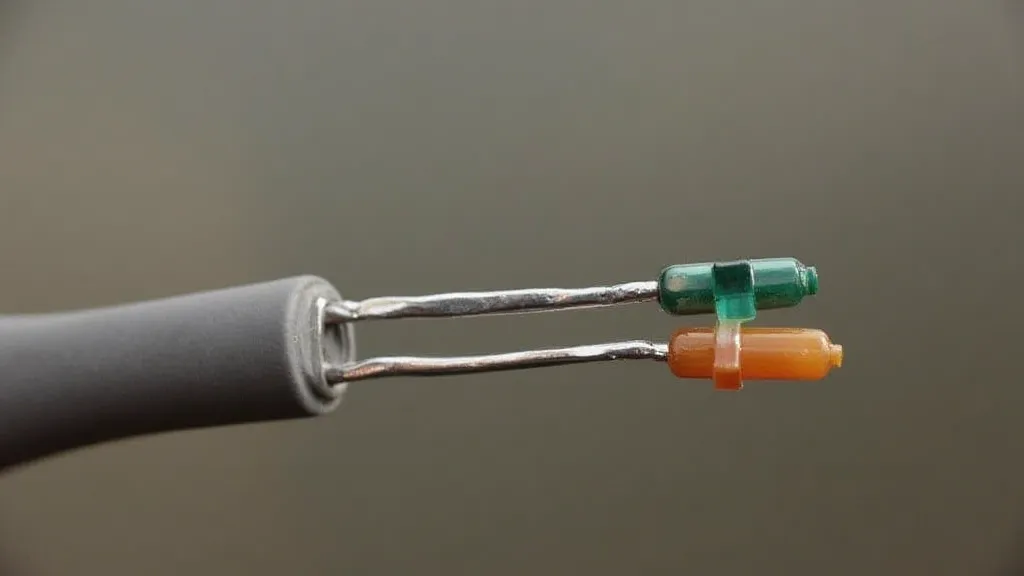
Step 2: Constructing the Feedpoint
Bring the two wire legs together. You're going to create the feedpoint connection. A simple method involves soldering the wire legs directly to the center pins of the SO-239 connector. Ensure solid solder joints. Carefully cover the solder joints with heat shrink tubing to protect them from the elements.
Step 3: Adding the SO-239 Connector
Securely mount the SO-239 connector to the dipole wires, ensuring the wires are firmly connected to the connector’s pins. Use a small amount of epoxy if needed to ensure a robust connection.
Step 4: Attaching the Feedline
Connect your coaxial cable to the SO-239 connector using your standard connector. Use a small amount of sealant around the connector to make it weatherproof.
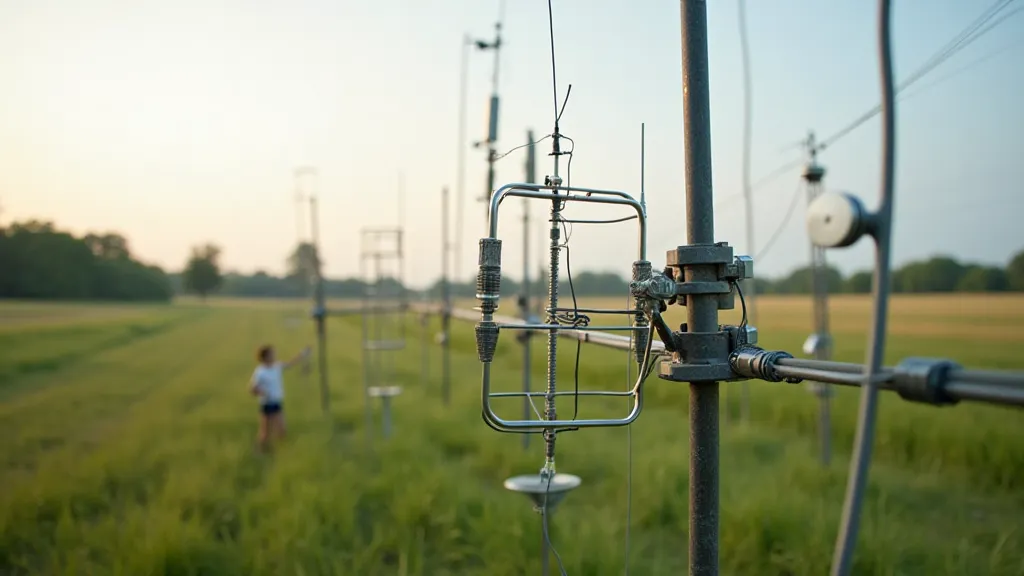
Deployment and Tuning
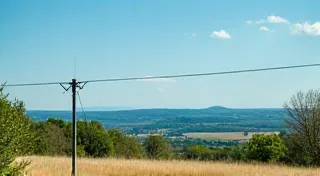
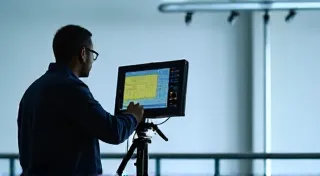
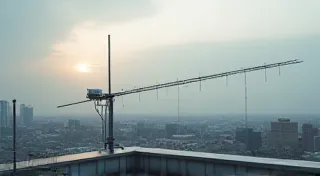
When deploying your portable antenna, ensure you have enough clear space for it to operate effectively. Height is also crucial - the higher the antenna, the better the performance. A few trees, a temporary support structure, or even a long pole can significantly improve signal strength. Remember to use your antenna tuner to match the antenna's impedance to your transceiver.
Important Note: The shortened dipole will likely have a lower feedpoint impedance. You’re almost certainly going to need a tuner to effectively use it with your transceiver. Experiment with different tuner settings to optimize performance.
Tips for Field Day Success
- Practice setting up and tuning your antenna *before* Field Day.
- Carry a spare SO-239 connector and some extra wire – Murphy’s Law applies!
- Keep your antenna elements clean and free from debris.
- Protect your antenna from the elements, especially during inclement weather.
Building a portable ham radio antenna doesn’t have to be complicated. With a little planning and effort, you can have a reliable antenna ready for Field Day and other portable adventures. Enjoy the experience and the thrill of communicating with others!
Further Considerations
While this compact dipole is a great starting point, you can explore other portable antenna designs such as end-fed wires, magnetic loops, or even roll-up J-poles. Each design offers different trade-offs in terms of performance, portability, and ease of construction. Experiment and find what works best for your needs.