Building a Loop Antenna for Local Communication
Loop antennas offer a fascinating and often overlooked solution for amateur radio operators, particularly when focusing on local communication. Unlike their dipole or vertical counterparts, loop antennas possess unique characteristics that can provide significant advantages in specific situations. This article will explore the benefits of loop antennas and guide you through the construction of a basic loop for improving your local radio communication.
What is a Loop Antenna?
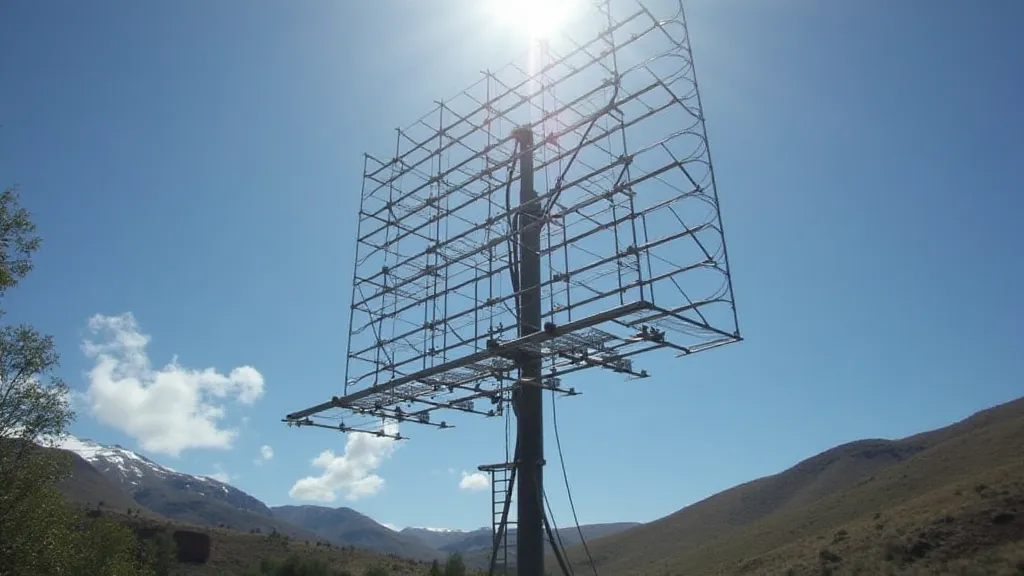
A loop antenna is essentially a closed loop of conductive material – typically wire or tubing – used to radiate or receive radio signals. Loop antennas come in various shapes, including square, rectangular, triangular, and circular, and can be either small or large compared to the wavelength of the operating frequency. For local communication, we’re typically referring to “small loop” antennas, those significantly smaller than a wavelength (typically under 1/10 wavelength).
Why Use a Loop Antenna for Local Communication?
Several factors make loop antennas attractive for local amateur radio operations:
- Directionality: Small loop antennas are inherently directional. They receive and transmit best from a specific direction, allowing you to focus your signal and filter out interference.
- Noise Reduction: The directional nature also helps reject noise from other directions, which is especially useful in noisy urban environments.
- Reduced Interference: Loop antennas can offer improved immunity to nearby electrical interference compared to simpler antenna designs.
- Compact Size: Small loop antennas are compact and can be installed in limited spaces.
Building a Basic Square Loop Antenna
Let's build a basic square loop antenna. This design is relatively straightforward and offers a good introduction to loop antenna construction.
Materials Needed:
- Approximately 32 feet (10 meters) of 14-16 gauge insulated wire (copper is preferred)
- A variable capacitor (typically 20-50 pF, higher values can be used with a slightly larger loop).
- Connectors (e.g., SO-239, or terminals for direct wire connection).
- Soldering iron and solder
- Wire cutters and strippers
Construction Steps:
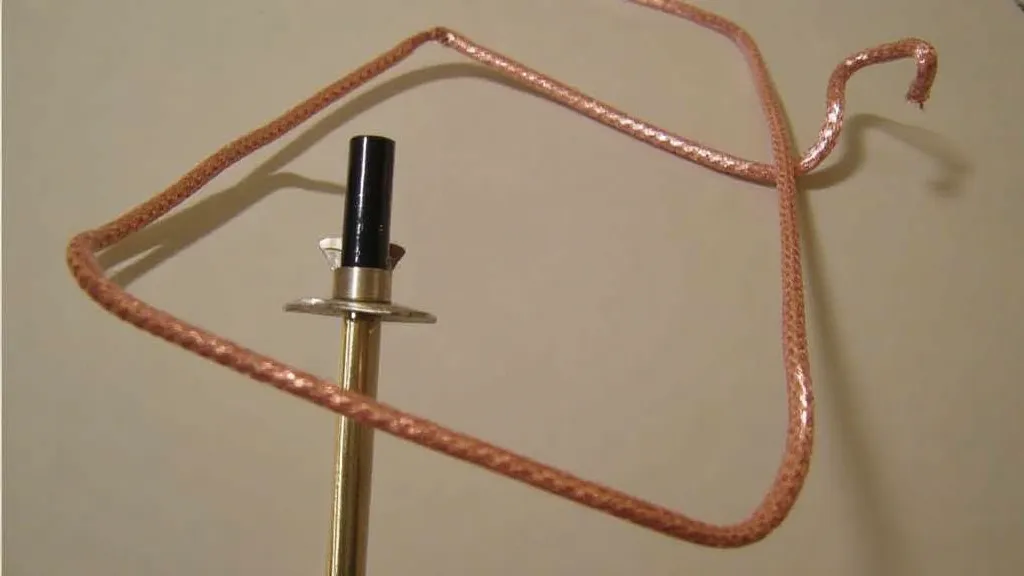
- Form the Square: Cut the wire into four equal lengths (approximately 8 feet each). Join the ends to form a square. Ensure the corners are strong and well-connected.
- Connect the Capacitor: This is the critical part! Connect the variable capacitor across one corner of the square. This capacitor is used to tune the antenna to the desired frequency.
- Add a Feedpoint: Connect an SO-239 connector or other appropriate feedpoint to another corner of the loop. This is where you’re coaxial cable will connect.
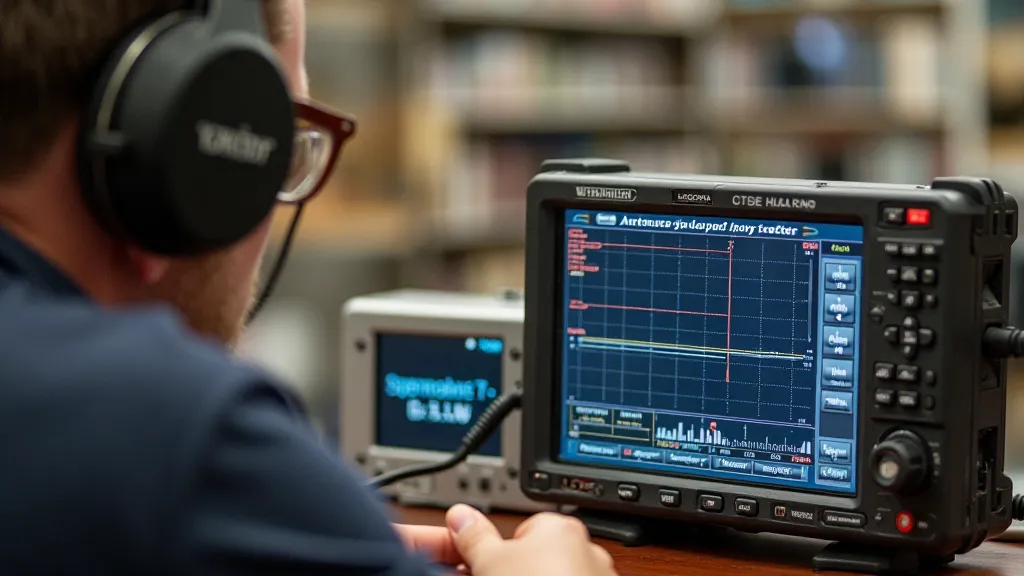
- Tuning the Antenna: Connect your antenna analyzer or SWR meter. Adjust the variable capacitor until you achieve a low SWR (ideally 1.5:1 or less) on your desired operating frequency.
Important Considerations
- Capacitor Value: The required capacitor value depends on the loop size and operating frequency. Experimentation may be required to find the optimal value.
- Grounding: While not always essential, a good ground connection can improve performance.
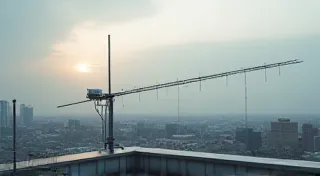
- Location: The performance of a loop antenna is highly dependent on its location and surroundings. Experiment with different positions to find the best results.
- Safety: Always take precautions when working with electrical equipment and antennas.
Conclusion
Building a loop antenna for local communication can be a rewarding project for amateur radio operators. While requiring a little more effort than some simpler antenna designs, the benefits of improved directionality and noise reduction make them a valuable tool for enhancing your local radio experience. Don't be afraid to experiment and adapt the design to suit your specific needs and operating environment.