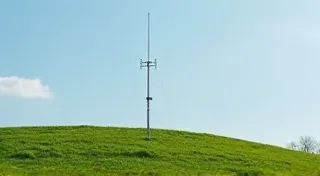
Building a Foxhole Antenna: Low-Profile and Stealthy
For ham radio operators looking to maintain a low profile or operate in areas with antenna restrictions, the foxhole antenna offers a surprisingly effective solution. Its design allows for near-ground installation, minimizing visual impact and often circumventing homeowner association or noise ordinances. This article provides a step-by-step guide to building your own foxhole antenna.
What is a Foxhole Antenna?
The foxhole antenna, sometimes called a ground-mounted dipole, is essentially a standard half-wave dipole antenna buried partially or fully below the ground's surface. The ground itself acts as the reflector, enhancing signal strength and directionality. Its unassuming appearance makes it ideal for areas where traditional antennas might draw unwanted attention.
Materials Needed
- Approximately 50 feet of coaxial cable (RG-8X or RG-58 recommended)
- Two lengths of wire (typically 14-18 gauge) – approximately 27-36 feet each, depending on desired frequency
- SO-239 connector
- F-connector (for coaxial cable connection)
- Shovel or digging tool
- Wire cutters/strippers
- Soldering iron and solder (optional, but recommended for reliable connections)
- Measuring tape
Planning and Location
Careful planning is crucial for a successful foxhole antenna. Consider the following:
- Frequency: The length of the wire determines the resonant frequency. Use online calculators to determine wire length based on your desired operating frequency (e.g., 20m band, 40m band).
- Ground Conditions: Ideal ground is moist soil or grass. Dry, rocky ground will significantly reduce performance.
- Clearance: Ensure the antenna is far enough from underground utilities (pipes, cables). Call 811 before digging!
- Orientation: Consider the direction you’re likely to communicate and orient the antenna accordingly.
Construction Steps
- Cut the Wire: Based on your frequency calculations, cut two lengths of wire. A little extra length is better than too little, as you can trim it later.
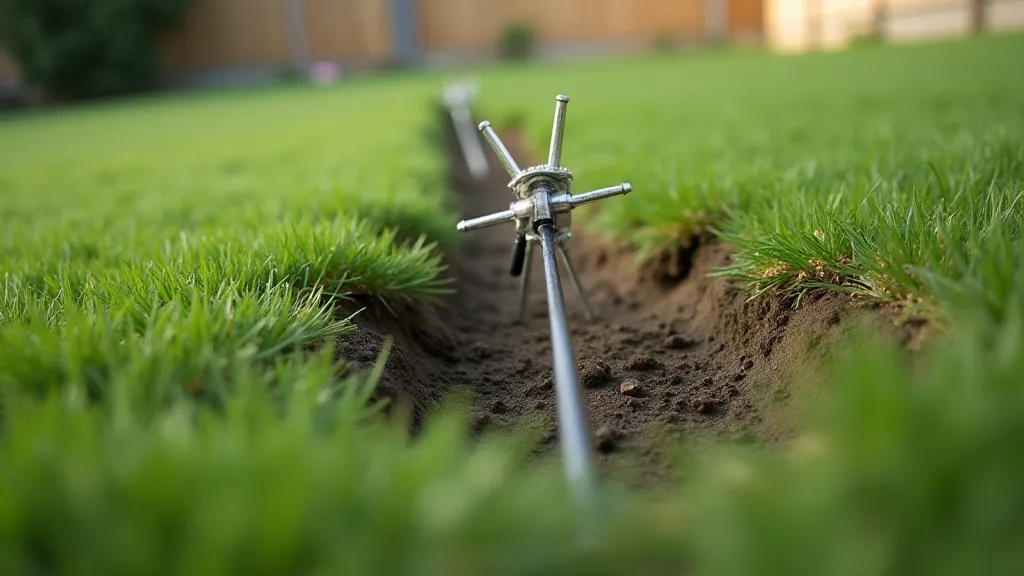
- Dig the Trench: Excavate a shallow trench (4-6 inches deep is generally sufficient). The trench should be long enough to accommodate the antenna wires with a slight curve above ground.
- Form the Dipole: Attach the wires to each other at the center, creating the dipole. Use a reliable connector or solder the wires together.
- Connect the Coax: Attach the SO-239 connector to the center of the dipole. Connect the coaxial cable to the SO-239 connector using the F-connector.
- Bury the Antenna: Carefully place the antenna wires into the trench, burying them to the calculated depth. A gentle curve above ground can improve performance.
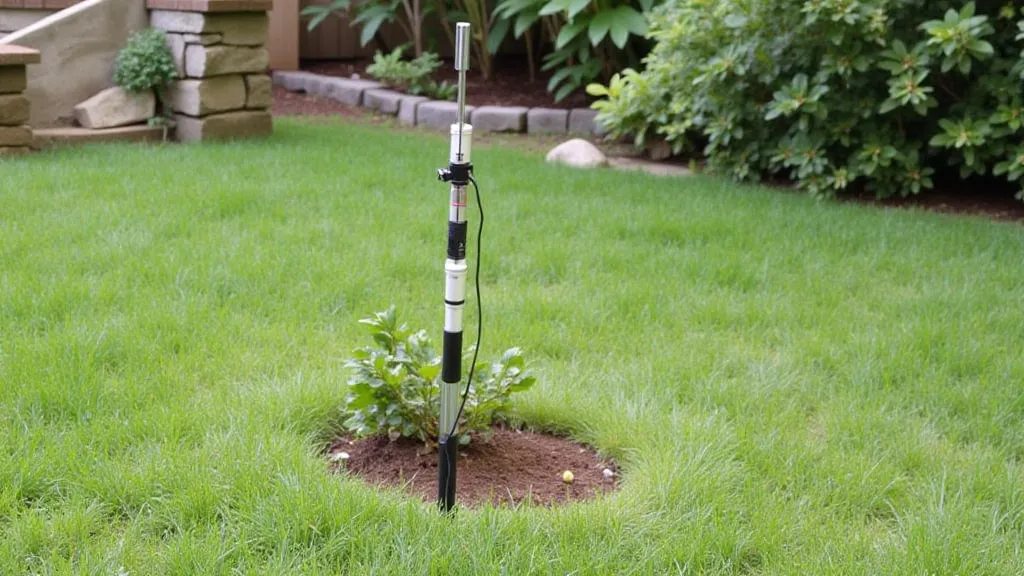
- Fine-Tune (Optional): Use an SWR meter to check the antenna's performance. If the SWR is high, slightly adjust the wire length or bury depth until the SWR is minimized.
Performance Considerations
A foxhole antenna's performance is directly tied to ground conductivity. Expect slightly lower gain and a more directional pattern compared to a free-space dipole. However, its stealth capabilities and ease of installation often outweigh these minor drawbacks. Experimentation with wire depth and ground contact will yield the best results.
Safety Precautions
- Always call 811 before digging to locate underground utilities.
- Avoid building near power lines.
- Use appropriate safety gear (gloves, eye protection) when digging and handling wires.

Conclusion
The foxhole antenna offers a practical and discreet solution for ham radio operators seeking to operate in challenging environments. With a little planning and effort, you can build a low-profile antenna that provides surprisingly good performance. Happy building, and enjoy your stealthy communication!