Building a Simple Dipole Antenna: A Beginner's Guide
The dipole antenna is arguably the most fundamental antenna in amateur radio. It's simple to build, relatively inexpensive, and performs well across a range of frequencies. This guide will walk you through building your own dipole antenna, perfect for beginners just starting with antenna building. Understanding the dipole is key to grasping more complex antenna designs later on.
What is a Dipole Antenna?
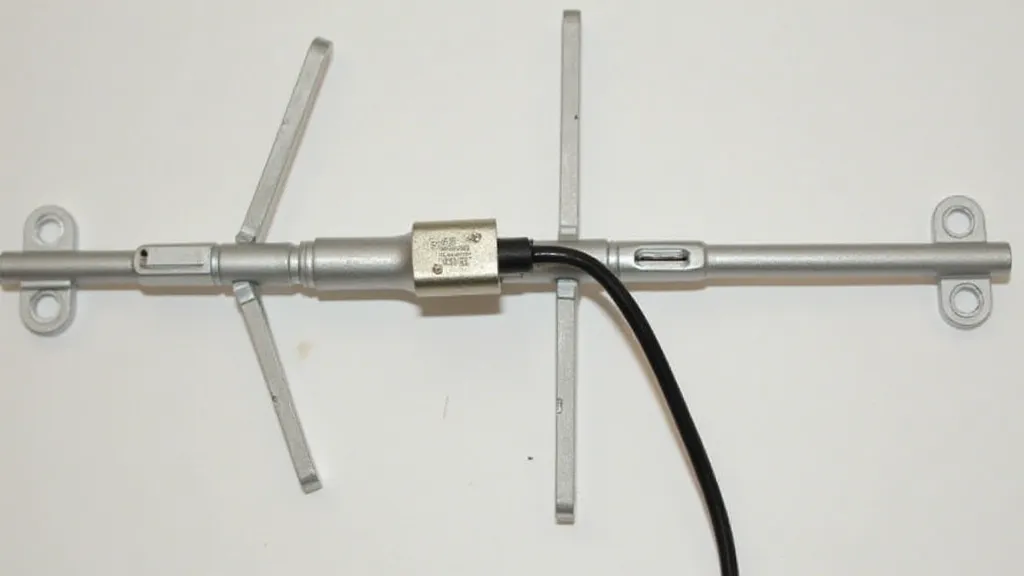
A dipole antenna consists of two equal-length wires fed in the center. It resonates at a specific frequency, meaning it efficiently radiates and receives radio waves at that frequency. The resonant frequency is directly related to the length of the wires; generally, half-wavelength of the desired operating frequency.
Materials You’ll Need
- Wire: Approximately 100 feet of insulated stranded wire (14-18 gauge is common). RG-8X coaxial cable for the feedline is also a good choice.
- Coaxial Cable: RG-58 or RG-8X coaxial cable (around 10-20 feet)
- Connectors: PL-259 connector for the coaxial cable (to connect to your radio) and connectors for the wire ends (e.g., crimp rings, or solder connections).
- Tools: Wire cutters, wire strippers, soldering iron (optional, for more robust connections), measuring tape, and a balun (optional, but recommended for some installations).
Construction Steps
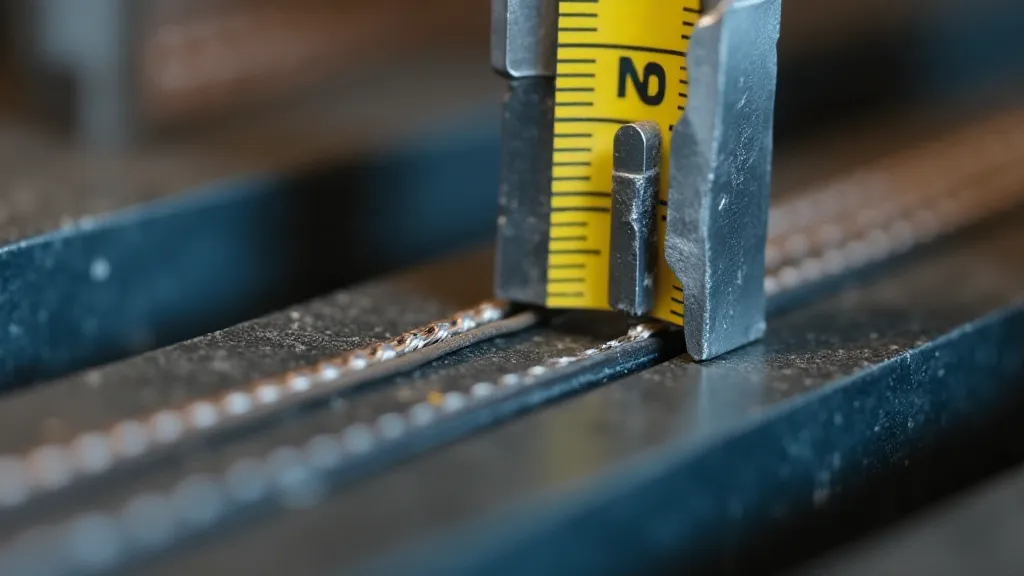
- Calculate the Length: The length of each half of the dipole is approximately half the wavelength of the frequency you want to operate on. The formula for wavelength (λ) is: λ = 300 / Frequency (in MHz). For example, for 146 MHz (2-meter band), λ = 300 / 146 = ~2.05 meters. Therefore, each half of the dipole should be around 1.025 meters (approximately 3.36 feet). Slight adjustments are often necessary for precise tuning (see Tuning section below).
- Cut the Wire: Cut two lengths of wire, each approximately the calculated length.
- Prepare the Center Connection: Gather the ends of the two wires. You will connect them to the center conductor of the coaxial cable. A SO-239 connector is commonly used here, but a direct connection can be made. Ensure a solid, low-resistance connection.
- Attach the Coaxial Cable: Connect the coaxial cable to the center connection. If using a SO-239 connector, the center conductor of the coax connects to the dipole wires, and the shield is grounded.
- Prepare the Ends: Attach connectors to the ends of the wire halves. These can be simple crimp rings or more robust soldered connections.
Tuning the Dipole
Once your dipole is built, you're not quite finished. It needs to be tuned to resonate at the desired frequency. This means adjusting the length of the wires slightly.
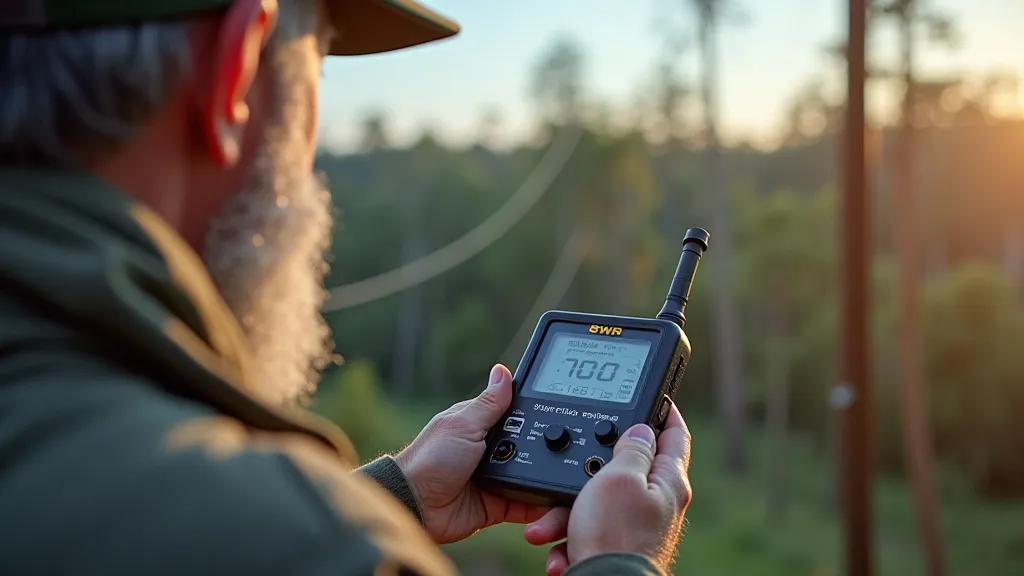
- Using an Antenna Analyzer: An antenna analyzer is the most accurate way to tune a dipole. It measures SWR (Standing Wave Ratio) which indicates how well the antenna is matched to your radio. Lower SWR values mean better performance.
- Using an SWR Meter: If you don't have an antenna analyzer, you can use an SWR meter connected between your radio and the dipole. Observe the SWR reading while transmitting a low-power signal.
- Adjusting Length: If the SWR is too high, carefully trim small amounts (inches) from the ends of the wires. Always trim symmetrically from both sides. Retest the SWR after each adjustment.
Important Considerations
- Height: The higher you can get your dipole, the better it will perform. Ideally, it should be at least 1/2 wavelength above the ground.
- Feedline: Using a balun (balanced-to-unbalanced transformer) is highly recommended to prevent common-mode current from flowing on the coax cable. This can reduce interference and improve performance.
- Safety: Always be mindful of power lines and other hazards when erecting antennas.
Building a simple dipole antenna is a rewarding first step into the world of antenna building. Experiment, learn, and have fun!