Building a Slim Jim Antenna: A Compact and Efficient Design
The Slim Jim antenna is a popular choice for amateur radio operators seeking high gain in a relatively small package. Its J-pole design provides excellent performance on various bands, making it a versatile option for both local and DX communication. This article will guide you through the construction of a Slim Jim antenna, providing step-by-step instructions and tips for success.
Understanding the Slim Jim
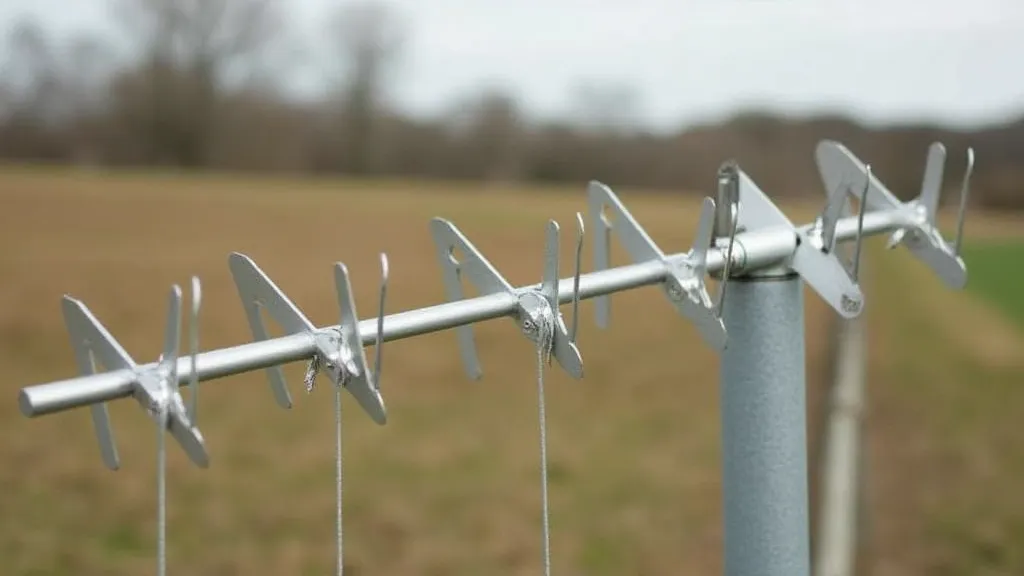
A Slim Jim is essentially a shortened J-pole antenna. It's known for its directional gain, meaning it focuses the radio signal in a specific direction, improving signal strength for both transmitting and receiving. The efficiency and gain achieved by a Slim Jim are significantly higher than a simple dipole antenna of comparable size. The length of the antenna varies based on the frequency it's intended for, meaning the dimensions will differ when building a Slim Jim for 20 meters versus 2 meters, for example. Careful measurements and accurate cuts are crucial for optimal performance.
Materials Required
- Copper Tubing: Typically 1.25" to 1.5" diameter is used. The length required depends on the band you're targeting.
- Measuring Tape: Accuracy is paramount.
- Pipe Cutter or Hacksaw: For precise cuts.
- Deburring Tool or File: To smooth sharp edges.
- Drill and Drill Bits: For mounting hardware.
- Solder and Soldering Iron: For connecting the feedpoint.
- SO-239 Connector: For connecting the coaxial cable.
- Coaxial Cable: 50 Ohm impedance.
- Mounting Hardware: Nuts, bolts, and brackets.

Construction Steps
- Calculate Dimensions: Use online Slim Jim calculators to determine the precise lengths for the radiating elements and the shorting stub, based on your desired operating frequency. These calculations are vital, a slight error can drastically affect performance.
- Cut the Elements: Carefully cut the copper tubing according to the calculated lengths. Measure twice, cut once!
- Prepare the Elements: Deburr all cut edges using a deburring tool or file. This ensures good solder joints and reduces RF losses.
- Assemble the Radiating Elements: Position the radiating elements in the correct configuration. A typical Slim Jim consists of a longer "radiating" section and a shorter "fed" section, separated by a shorting stub.
- Soldering the Feedpoint: Carefully solder the elements together at the feedpoint. Ensure a solid, clean solder joint. This is critical for minimizing signal loss.
- Mount the SO-239 Connector: Securely mount the SO-239 connector to the antenna structure.
- Attach Mounting Hardware: Install the mounting hardware to allow the antenna to be secured to a mast or other support.
Important Considerations
- Accuracy: Precision is the most important factor. Even small discrepancies in length can impact performance.
- Weatherproofing: Protect the antenna from the elements. Consider using sealant or coatings to prevent corrosion.
- SWR Tuning: After construction, check the Standing Wave Ratio (SWR) using an SWR meter. Minor adjustments to the element lengths might be necessary to achieve a low SWR.
- Safety: Always observe safe practices when working with tools and at elevated heights.
Conclusion
Building a Slim Jim antenna is a rewarding project for amateur radio enthusiasts. With careful planning, precise execution, and a little patience, you can create a high-performing antenna that enhances your communication capabilities. This compact and efficient design provides excellent gain and directionality, making it a valuable asset to any ham radio station.